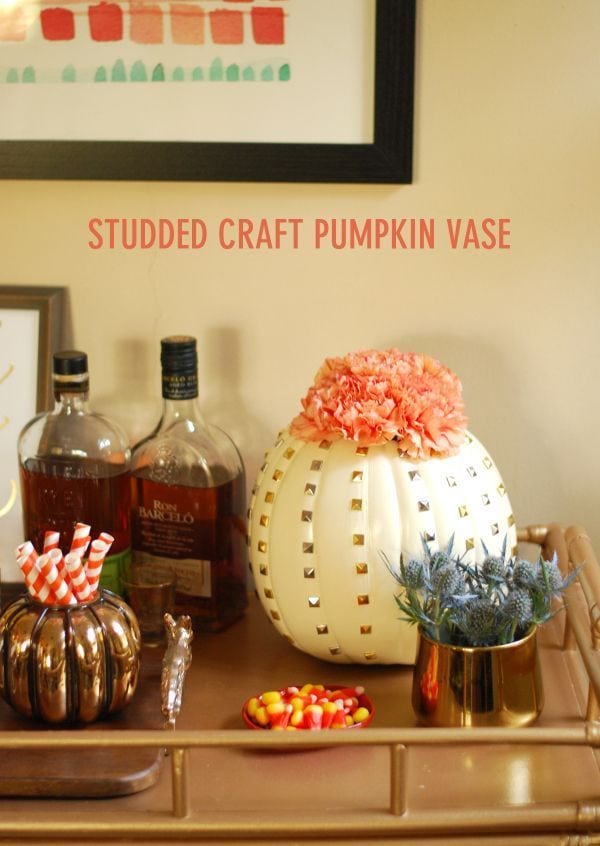
It’s beginning to feel a lot like fall in North Carolina! The weather has started to cool down, the AC is off and the windows are open. To get ready for fall, I made a few seasonal changes to my bar cart. One of my favorite additions is a DIY studded craft pumpkin vase. Keep on reading to learn how to make your own pumpkin vase!
Materials:
- Craft pumpkin
- Silver and gold stud stickers (found at Michael’s)
- Craft knife
- Vase
- Flowers
Use the craft knife to carefully cut a hole in the top of the pumpkin. I used a pencil to sketch my path and then I cut around it. Next, following the lines of the pumpkin, places the stud stickers down the pumpkin. I rotated lines of gold and silver. When you have place studs all around the pumpkin, find a vase that will fit inside of the pumpkin. A quart sized mason jar worked well for the height of my pumpkin. I added water and flowers to the vase and my pumpkin was ready to display.
I pulled out a few additional fall decorations, like this cute metallic pumpkin, some orange straws and my seasonal favorite, candy corn. A few small touches can go a long way to bring a sense of all into a home.
Craft pumpkins are easy to work with and they won’t go bad a week after carving. Instead, it will last season after season.
Have you decorated a craft pumpkin before or are you planning to this fall?
Here are a few more of my favorite craft pumpkin designs for some fall inspiration:
Pretty Pumpkins, Perfectly Imperfect
Give Thanks Mantel, A Diamond in the Stuff
Hand-Painted Pumpkins, Simple As That
Neon Paint Dipped Pumpkins, A Night Owl Blog
Pumpkin Candy Holders, By Stephanie Lynn
Happy fall!

