Are you dreaming of a brand new kitchen design? Well, you’ll be happy to know that it doesn’t have to be an expensive dream! Plastering and painting your kitchen can give it a fresh, new look at a fraction of the cost. Read on for our top tips on how to get the job done right!
1. Preparing the Room for Painting

Preparing the room for painting is a vital step in a kitchen remodel. Before starting any painting preparations, ensure there is sufficient ventilation in the room, either through open windows or by running a fan. Safety should always come first when working with paint or plaster.
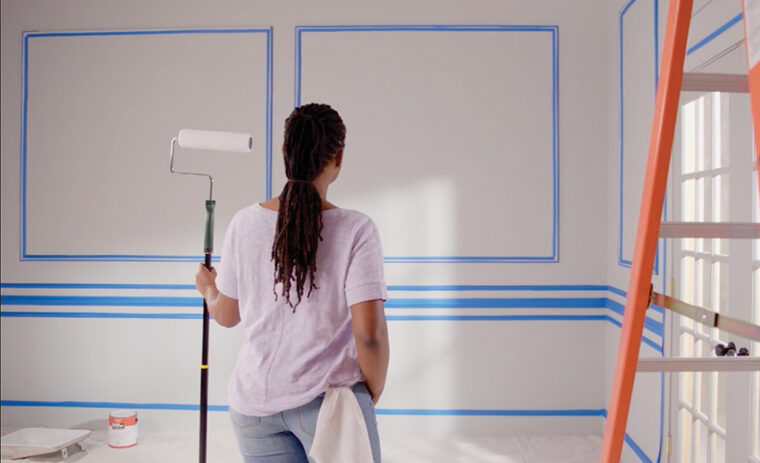
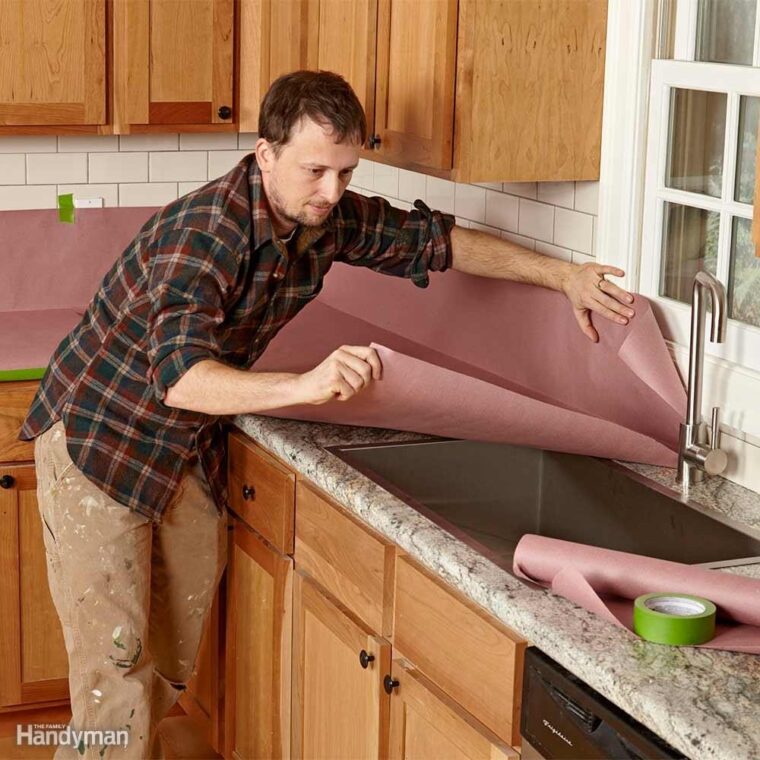
Start by removing all furniture, coverings, and wall hangings that may interfere with painting. Then, take steps to thoroughly clean the walls of dirt and grease. Use warm water with mild dish soap to wash the surfaces you will be painting and allow them to dry completely before proceeding. Sand all rough spots on the walls and use painter’s tape to seal off baseboards, door frames and window sills so they don’t get paint on them during your project.
For plastering projects, repair cracks or gaps in existing walls before applying any new layers of plastering material. You may need additional supplies like joint tape or backing board depending on the type of repair needed – consult with patchboyz.ca if you are unsure what adjustments need to be made before proceeding further. Finally, be sure all previously painted surfaces have been sanded so that the new coat of primer will have an even surface for adhering more easily.
2. Choosing the Right Paint
Choosing the right color for your kitchen walls is an important step in any remodeling project. You want to make sure you’re selecting a finish that will stand up to wear and tear and create a stylish space for you to enjoy for years.
The first thing to consider is the sheen of the paint. Flat finishes provide a rich, matte look but don’t last long in kitchens because they easily pick up dirt and scuffs. Semi-gloss or high-gloss paints are more durable. For example, high-gloss is great for areas like pantries because it can sink into corners and crevices easier than flat paint can, making it ideal for cleaning.
In addition to sheen, there are other factors to consider such as the type of paint (oil or latex), its VOC rating (volatile organic compounds), washability and special features like mold resistance or anti-bacterial application. There are also some special paints designed specifically for different types of interior surfaces including plaster, drywall and wood as well as designed specifically for countertops/cabinets/floors depending on your specific needs.
Be sure you shop around because there are many different types of paints available with varying qualities – from cheap economy sets found at home improvement stores all the way up to premium products available from specialty suppliers. Either way, take care when mixing colors or when purchasing pre-mixed colors from disparate manufacturers – always be sure that they match closely before painting your whole kitchen! You can also view these kitchen designs here for more inspirations on the type of paint you’d want to use for your kitchen.
3. Applying the Paint

It is one of the favorite tasks associated with remodeling, it’s also one of the most critical steps in protecting your plaster walls. To ensure a good job, always use top quality supplies and use multiple coats.
When painting over a freshly plastered surface, allow the plaster to dry thoroughly before painting. Even if your surface appears dry to the touch, it may still be damp underneath and could cause peeling down the line. To avoid this issue, wait at least two days if necessary to ensure that all moisture is gone.
Now comes the fun part! Always begin at the top of your wall and work down applying even coats toward corners and edges (start in the corner and cut in on both sides). Using a good quality roller or brush—an angled brush works best for corners—be sure you don’t overload your tools as this can cause runs or drips in your finish; this is especially important when working with a high-gloss paint as it tends to drip more easily than flatter paints do. If you notice runs during application be sure to quickly wipe them away with a clean cloth dampened with water only (no detergents!). Take breaks as necessary, but don’t take too long between coats or you may need to sand things out. Once done with each side make sure you thoroughly clean your tools before starting again on another side; this will help create those seamless finished edges that give an overall professional look to any project!
4. Finishing the Paint Job
Once the walls have been adequately prepared, it is time to begin the finishing process. This includes taping, patching and sanding any imperfections left behind by the plasterers. Primer should then be applied to seal any remaining exposed areas and enhance adhesion of the new finish coat. To get a professional look, take special care when using tape and check for smooth surfaces before applying paint.
When priming or coloring it’s important to include adequate drying times between coats; especially products that require overnight curing before repainting can commence due humidity levels present in plastering dust particles present in the atmosphere around newly formed walls or ceilings in a home remodel project or upgrade. It’s also recommended that the same amount of it be used both inside and outside corners when cutting-in wall edges (where two adjacent walls meet). Any exposed nails should be countersunk so they don’t cause bumps under your final coat – caulking may also be necessary in some cases for a seamless look!

Conclusion
Kitchen remodeling is a daunting task but with the right tools and tips, it can be made simpler. With these plastering and painting tips for kitchen renovation, you’ll be equipped to get your desired results in no time. Investing in quality materials and guidance from professionals will help ensure that your project will look great when finished. Taking on renovations requires patience, effort, creativity, attention to detail and of course money – but the end result will give you years of satisfaction & enjoyment!
