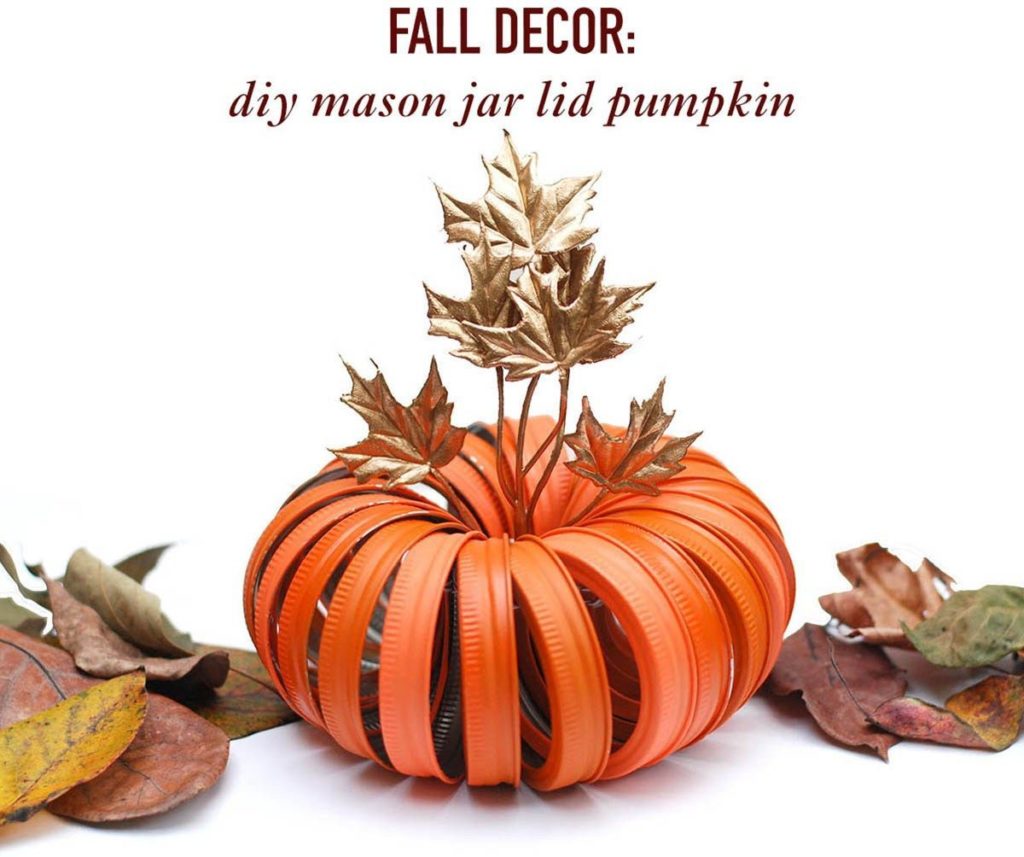
Today is the official first day of fall! To celebrate, I put together a DIY mason jar lid pumpkin. This festive decoration will be the perfect addition to your home until Thanksgiving and can easily be reused each fall. Click through to learn how to make your own mason jar lid pumpkin.
Materials:
- 21 mason jar brands
- Americana Acrylic paint in Jack-O’-Lantern Orange, Pumpkin and Spiced Pumpkin (how perfect are those names?)
- Paint brush
- Faux leaves
- Gold spray paint
- Clear spray sealer
- Yarn or twine
Being by painting all of the mason jar bands orange. I just painted the top and sides, I did not paint the inside of the bands. I used three different colors of acrylic paint to create a subtle ombre effect, but you could use spray paint to speed up the process. Let the bands dry for a few hours and then spray with a clear sealant to protect the paint. Once again, give your band several hours to dry.
When you are ready to construct your pumpkin, string all of the bands onto your yarn, making sure they all face the same direction. Tightly knot the lids together and then fan them out to create a circular pumpkin shape.
You can add faux leaves, which I spray painted gold, or cinnamon sticks to create a pumpkin stem in the middle.
How adorable would a few of these pumpkins look on your Thanksgiving table along with some fall flowers and votives? Happy crafting and have a wonderful first day of fall!
Thanks to DecoArt for providing me with the Americana Acrylic Paint. Please note that all opinions are my own.

