Everything around us is art. Everything human-made can be considered an art form in its way. Today we are discussing a different kind of art – the one you can eat.
Pastry chefs, in my own opinion, don’t get the proper credits when it comes to their niche. I believe that these guys and girls are true artists, pretty much like the ones that use brushes and canvas. What they can do with their imagination and skill is beyond remarkable.
Being able to create a wedding cake, birthday cake, or any other for that matter, that gets so much admiration should be considered a work of art. The amount of details, time and skill that goes into a cake like that is countless. Today we will touch on the detail side of the cake – the decoration, and this time it’s the edible flowers.
The art of making, arranging these edible pieces is fun but demanding, and today we will share with you how you can decorate your cake with edible flowers. If we manage to skip something you can always get more info with The Dahlia Expert.
Before we begin there are two options you can take here – either use real flowers that are edible or make flowers from the material you have on your hands. Either way, the results will be astonishing. Now, without any further due let’s start with your tips, shall we?!
Using real edible flowers:
1. Chose the right flowers
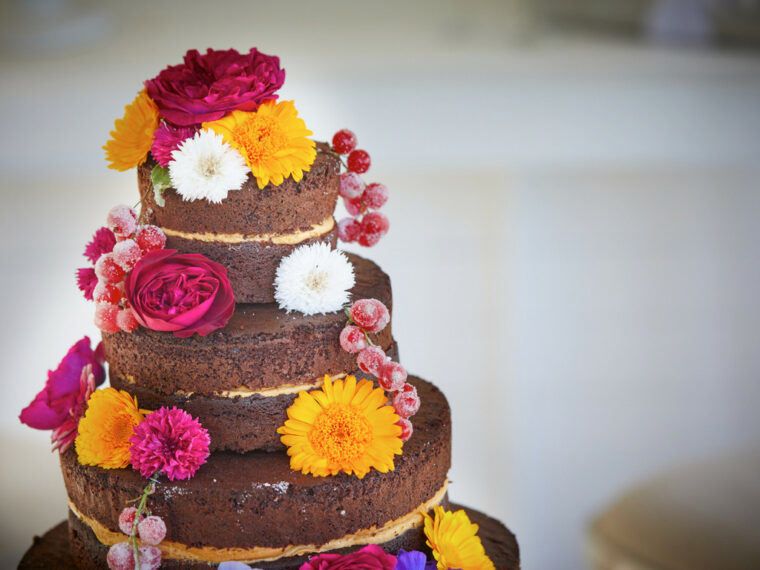
Believe it or not, there is a whole bunch of wildflowers that can be used to decorate your cake. The only thing you need to do is to know which ones are safe and which are not. Blue cornflower for instance is safe to eat and a nice-looking flower that will make any cake pop out. Violas, Chamomile, dried Calendula petals and dried Blue Corn petals are all safe to use on your cake. The colors you get from these are awesome and the vibrancy of the cake will be unprecedented. If you utilize your skill along with your color matching we believe that these edible, live flowers, will make your cake number one wherever you show up. For more ideas, you can visit Manly Man Co.
2. Crystalize
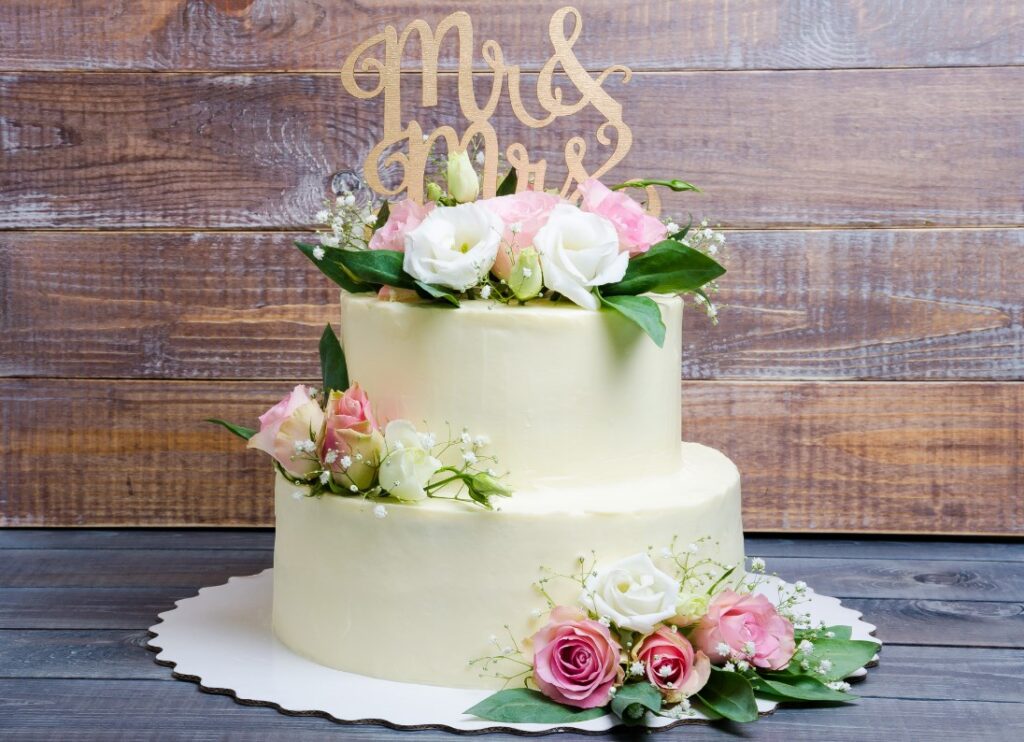
Now, this is a process that is rather necessary if you want to make those live, wildflowers tasty and preserve their beauty for a longer time. The crystallization process is rather easy – you need some egg whites and sugar. What you do next is whip up the egg whites and use the frothy bit to paint on your flowers or petals. The only advice is not to whisk the whites into a stiff peak, but rather make a nice foam that you can use to paint on the flowers. When the whites are all nice and foamy get yourself a nice soft paintbrush that you are going to use to paint onto your flowers. Since the flowers are fresh and delicate, do not be too robust, use slow gentle motions when applying your whites to the flowers.
After that use Castor sugar to dredge the petals on and you are halfway done. Any other sugar will not do because of the weight and the fact that the flowers and petals are too delicate. Castor sugar is right in the middle and it has proven like the best one to use. After you finish everything put your flowers face down, to retain their shape, on the greaseproof paper and let them sit for a couple of hours. By crystalizing your flowers this way, you will ensure that they remain nice looking and fresh for weeks on.
3. Decoration
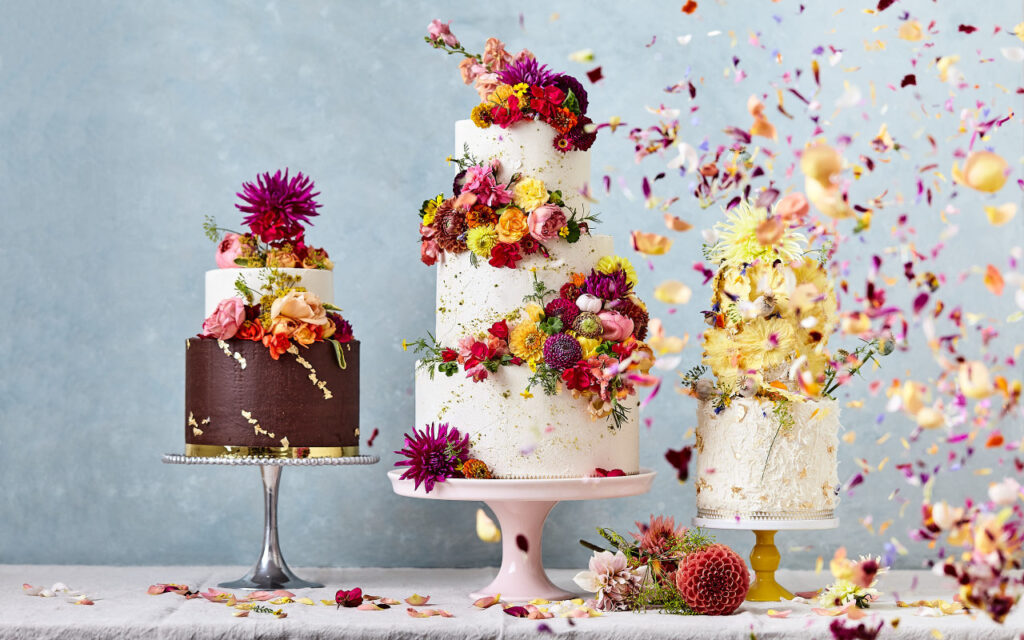
The decoration depends much on the occasion, theme if there is one, or the preference of you or the one you are making your cake for. If you are going with the entire floral theme then we suggest that you start by using a base that has dried petals in it. This means that you can add dried petals in the bowl of buttercream and mix it in. add as much as you think you need for your base just keep in mind less is more most of the time. Ice your cake with that and admire the results. You will have a colorful base that you can add more of the leaves or petals to make it pop.
4. Geometry
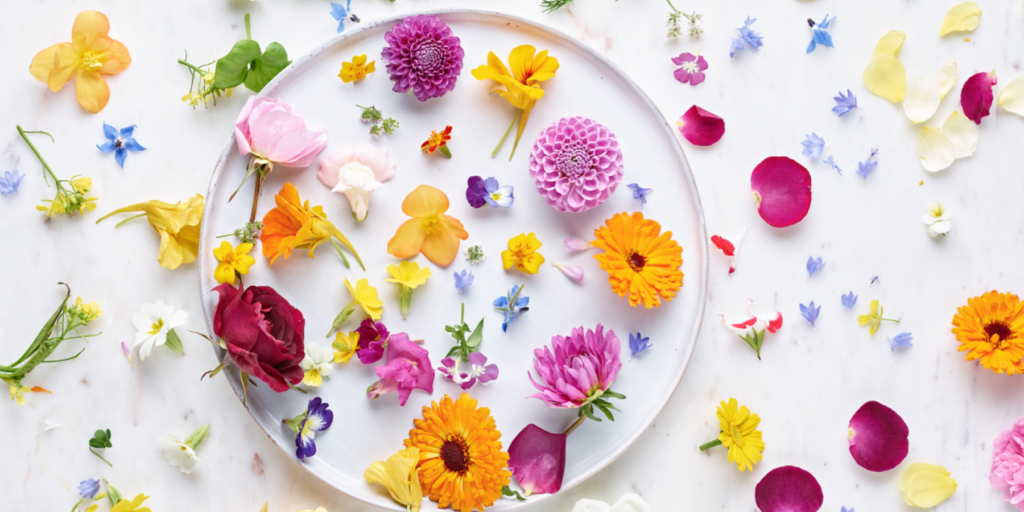
Most worry about this part – the stacking or the geometry of the decoration. This is where you can let your imagination run wild and you can opt for any direction, any shape and size you want to. What you need to take into consideration is the size and the shape of the cake. Round cakes are good for spiral patterns going up to down or vice versa. If we are talking about a square shape you can opt for just the top decoration or even the top and sides. It all depends on what you have in mind and the size of the cake. If you fill it up with a lot of flowers, and a lot of different colors you probably won’t like what you ended up with. Since live flowers decoration is Wow! Things by themselves do not go overboard.
5. The top
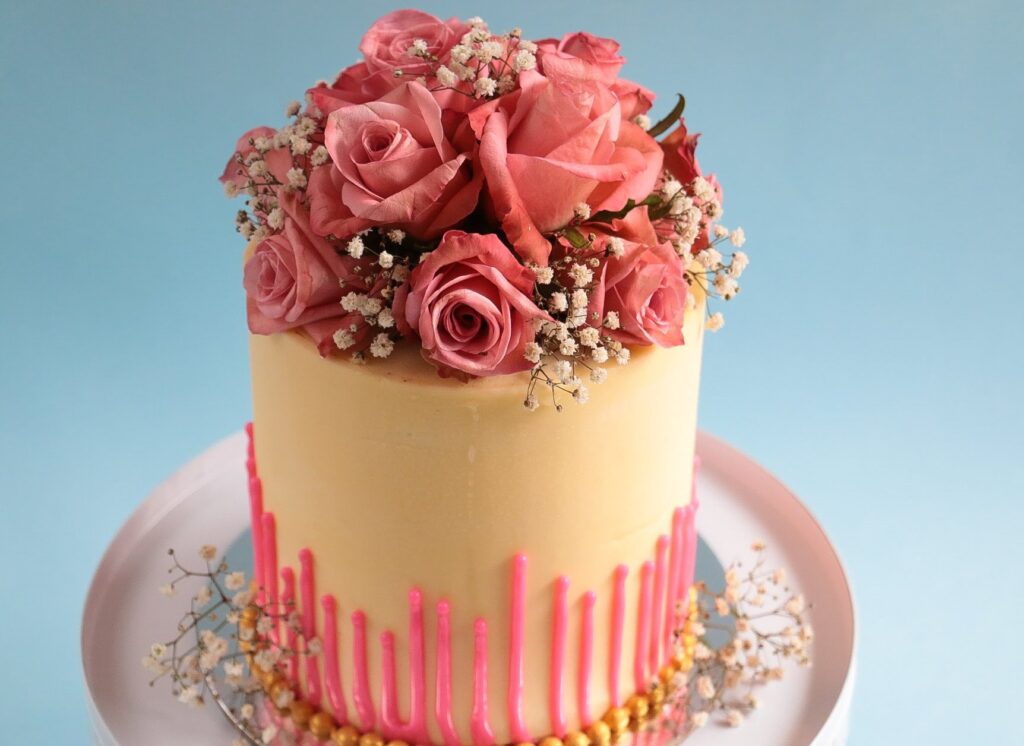
This is the part of the cake that sticks out the most and this is where the crown of the cake sits. On top always make a small bed out of the material leftover, in our case, it was that buttercream mix. Make a bed with that and then go for those crystalized flowers you made earlier. Then you can let your hands and your brain arrange everything the way it is supposed to be. You can opt for middle fitment or you can arrange all your crystalized flower around the edges. All in all, make sure that the top of your cake compliments the sides and the bottom. You don’t want them to look too much apart because then you lose your artistic continuity and form.
When you have the right pointers and the right equipment and materials there is no way you can make a mistake. Follow your artistic side, follow your heart and above all always make sure that you do not overdo anything. Place everything in small batches and then decide if you have to add on, or deduct to have a full harmony.
