The pressure of maintaining the performance of a daily used frying pan is a struggle that must be acknowledged. Since it is used the most, it is likely more prone to be mishandled and not washed appropriately. So different types of frying pans require different methods in the name of cleaning rituals to showcase the same beauty and performance.
Here we have mentioned the cleaning methods of the top 3 most used frying pan materials.
If you want to escape this cleaning and maintenance grind altogether, the solution is simply the use of a quality electric frying pan.
If you use the right tactic to operate an electric pan, you don’t need to invest your time and energy besides the money. Checkout the great Kitcheniest guide about the best electric pans available to be grabbed.
How to clean a frying pan?
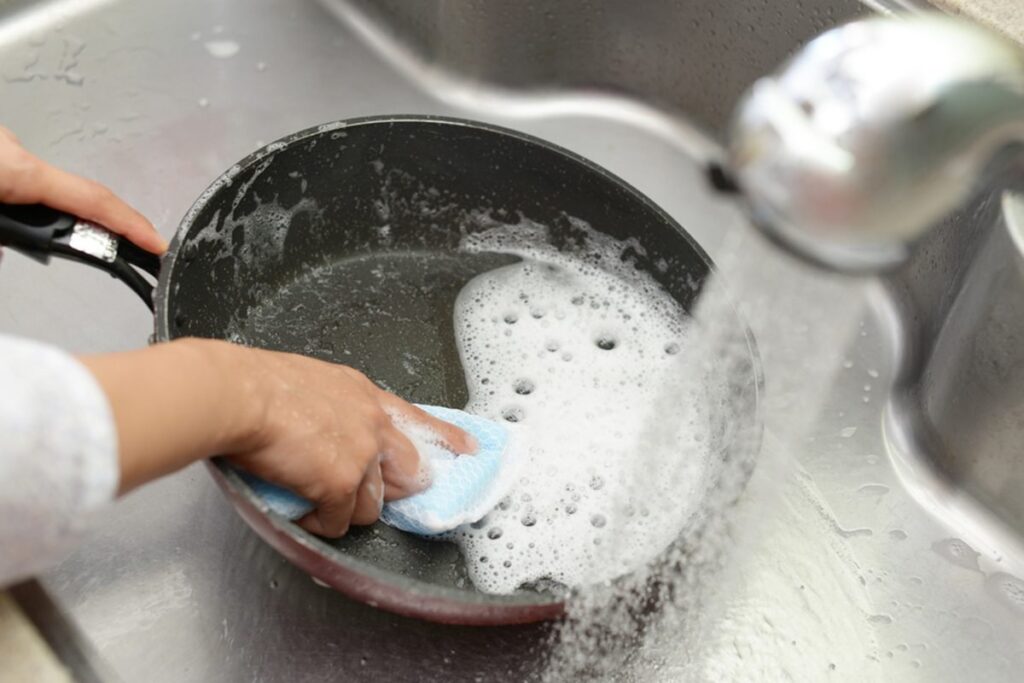
The health of your frying pan, no matter what material it is, can be kept sound only if you set to tidy it up right after you are done with the cooking.
Stainless Steel
Method 1: Baking Soda and Water
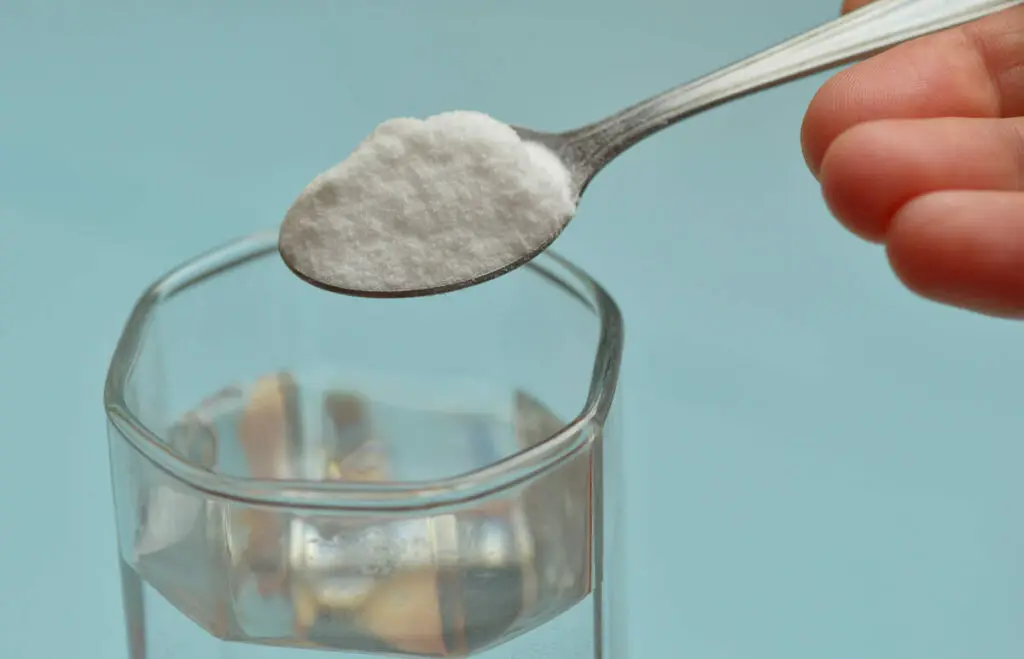
If you have just finished cooking and there is an ugly burnt layer of oil mixed with ingredients, hold on right there and then. Add half a cup of baking soda to your hot pan surface and a little water. Put the pan back on the burner and let the mixture boil until the layer starts softening. Scratch the surface gently with a spatula and then wash it off. If the stains persist, add the baking soda again with very little water. This time, it should be a thick paste to leave it on and not a runny mixture to boil. Let the paste work off for an hour or two and then rinse it after scrubbing the baking soda paste. This process will not only remove the rigid leftover but also clean away the unwanted stains. It is also cheap and quick, what else is needed.
Method 2: Vinegar and Water
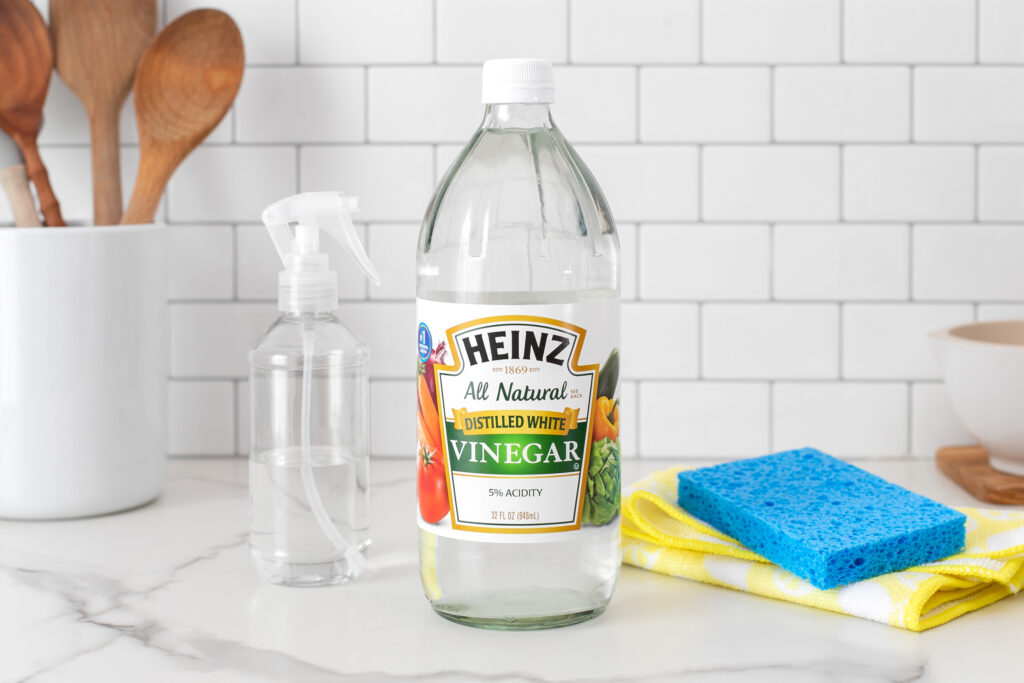
Vinegar is yet another amazing agent that maintains the potential of vanishing the stubborn stains off the surface. All you have to do is to arrange a bigger pot that can encompass the frying pan into it. Add 2 cups of vinegar and 4 cups of water to it. If it is not enough according to the size of the pan, maintain the 1:2 ratios and add another cup of vinegar with 2 more cups of water. Put the pan into that pot and leave it to boil at least 2 times. Later, rinse it with tap water.
Note: If your pan is too hot, don’t rush to put it under a cold water tap.
Nonstick
Method 1: Salt and Water
After your nonstick frying pan is free from its duty on the stove, rinse it a little to remove possible oil and leftovers. Then add a full cup of water, half a cup of salt, and half a cup of vinegar to the pan. Let it boil for a few mins on low to medium heat. The boiling will do its work to uproot the burnt layers. You can scratch the sticky surface with a harmless plastic spatula or spoon. Leave it for an additional 5 mins so that it may cool down. Rinse it well and pat dry immediately.
Method 2: Dish soap and Water
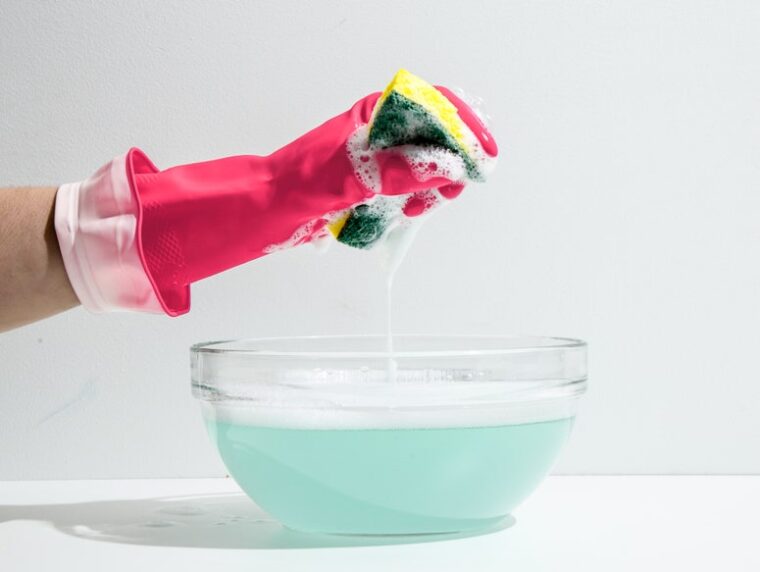
Once you dish out the meal, leave the frying pan on the burner and add a cup of water to it. Splash two or three spoons of liquid soap as well and let the combination boil its way out. Rinse it afterward and pat dry it with a clean pier of cloth or paper towel. Make sure you don’t stack it wet after washing. This is an effortless and quick approach to cleaning the nonstick pan to protect its coating that could be damaged easily if you scrub its surface with harsh steel or wool sponges.
Note: Do not use oven cleaner on your nonstick pan.
Cast Iron
Step 1: Cleaning
The first step is dependent on the cleaning requirement of the pan. If you see the surface can be easily wiped off with the help of a paper towel, well and good. If the remnants are strictly stuck, add a little water. Fret not; you can season your cast iron pan again later on. But for now, thorough cleaning to get rid of burnt food is paramount. Also, add some Himalayan salt to it. If that’s not available, use kosher salt. Gently scrub the pan using a very soft sponge. When you see the scrubbing paying off in the form of a clean surface, rinse it.
Step 2: Heating
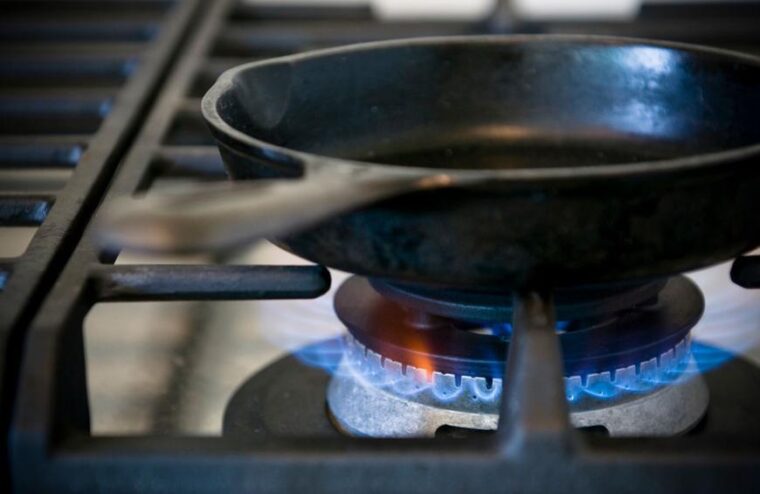
Put the pan in the oven or place it directly on the stovetop to evaporate the resting moisture.
This has to be done immediately to secure the pan from the attack of corrosion which is quite usual if you leave the water to dry on its own in the cast iron pan.
Step 3: Seasoning
Now it’s time to season it again before the next use. At best, you can take any vegetable oil in a little quantity and spread it evenly on the surface. The pan should be hot enough to let the oil stick to the surface. Meanwhile, keep tissue paper at hand to wipe the excess oil. At this point, you are done with the cleaning plus seasoning of the cast iron skillet. Next time when you use it, do not let the recipe make a home at its surface. Though if the skillet is properly seasoned in the first place, the recipe does not stick.
Note:
If this basic cleaning ritual does not show any results on the first go, you can opt for the aggressive stainless steel scrubber or even the oven spray.
For all these three cookware material variants, I suggest you skip the use of a dishwasher. The hand-washing might take a little time but it is worth it especially when you are hoping your investment will go a long way with you.
